
Asset movement
Transaction → Asset Movement records assets physically moving — to another room, another department, or into someone else's care. Staff change desks, equipment is reassigned, a site relocates.
The lifecycle, submitting, fixing and voiding are in Document basics.
One destination per document
The destination lives on the header and applies to every asset in the document. That makes bulk moves fast — fifty items going to the same floor is one document — but it also means one document has exactly one destination. Assets going to different places need separate documents.
You can move any combination of these in a single document:
| Dimension | From | To |
|---|---|---|
| Department | The current department | The new one |
| Location | The current location | The new one |
| Responsible person | The current one | The new one |
You can also set the Status the assets should have after the move — useful when items come back from a site in a different condition.
Leave a dimension unset and it is left alone. A move between rooms within one department only needs the location filled in.
Create the document
- Open Transaction → Asset Movement and select the create button.
- Fill in the header: the title, the from and to values for each dimension you are moving, and the status the assets should end up with.
- Save. The number is generated and the status is
DRAFT.
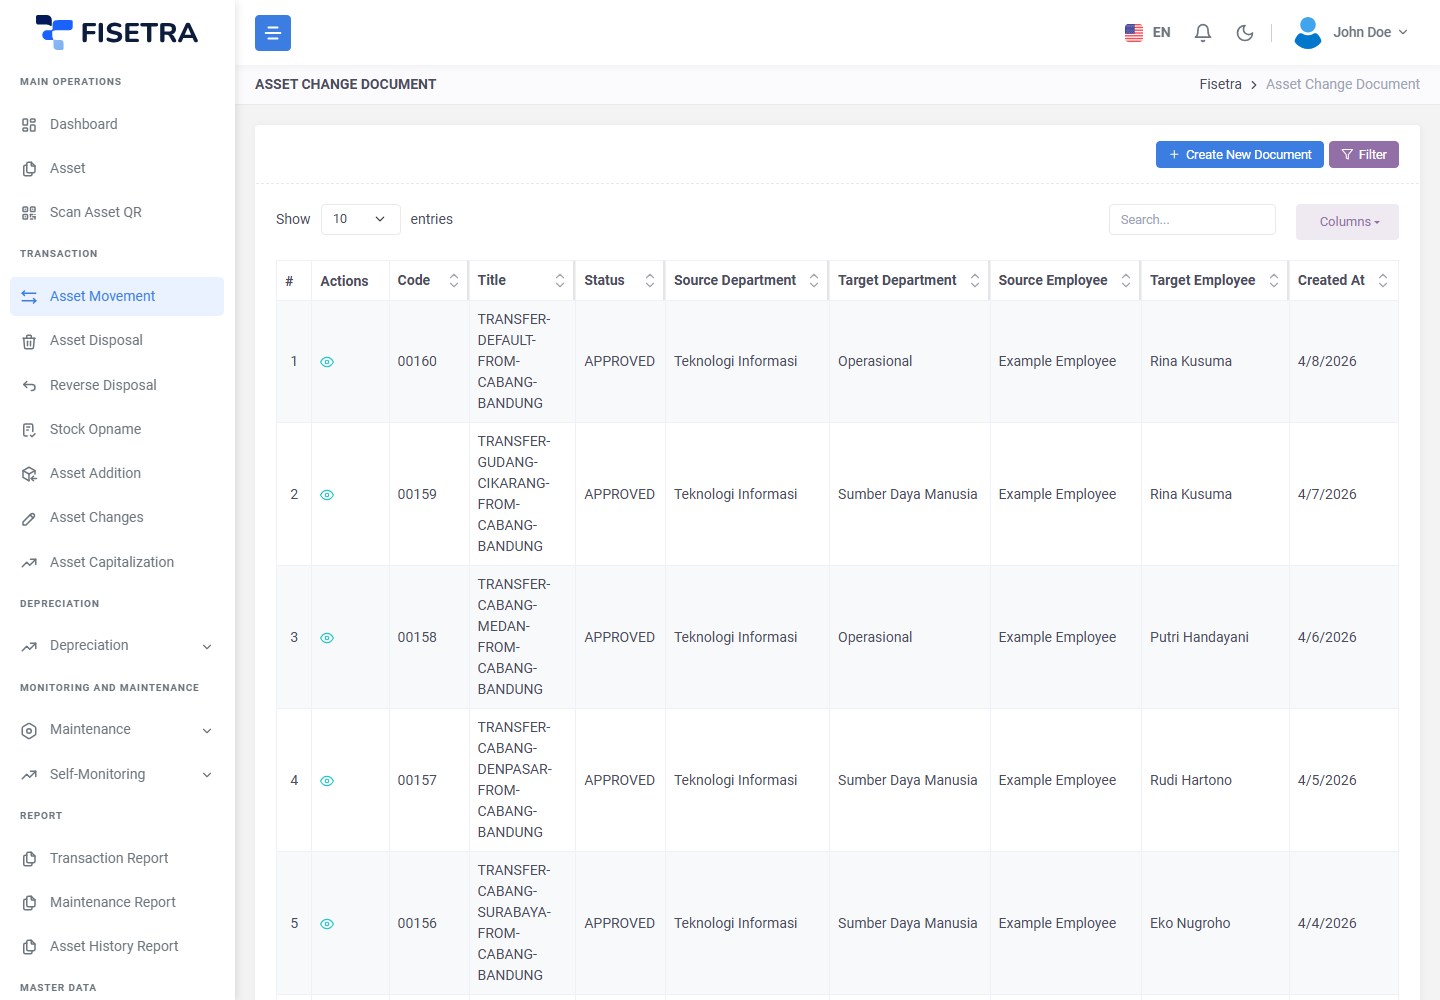
Fill the header before adding assets — it determines which assets are offered.
Add the assets
- On the Asset List tab, add assets one at a time from the available list, or use the bulk option for several at once.
- Only active assets appear. Disposed assets cannot be moved — bring one back with a reverse disposal first.
- Remove any line you added by mistake while the document is still
DRAFT.
Attachments and Carbon Copy
Attach the handover note or delivery confirmation on the Attachment tab. Add the receiving department, or anyone who needs to know, on Carbon Copy — they are told when the move completes but do not approve it.
Submit and approve
Select Document Confirmation. The document becomes PENDING and approvers are notified.
On approval each asset's department, location, responsible person and status are updated to the header's destination values, and each gets a history entry recording where it came from, where it went and which document moved it.
Until approval nothing moves. The assets stay where they were, which is worth remembering if you are comparing the system against a physical handover that has already happened.
If the document is rejected it returns to you as a DRAFT; fix it and use Confirm Fix.
Moving from the asset list
Selecting assets in Main Operations → Asset and choosing the movement bulk action creates exactly the same document with those assets pre-filled. It is a shortcut into the document, not a way around approval. See Managing assets.
Common problems
| Problem | Why | What to do |
|---|---|---|
| An asset is not in the available list | It is disposed, outside your visibility, or locked by an active Stock Opname | Check its status and your assignments |
| Assets need to go to different places | One document has one destination | Create one document per destination |
| Cannot pick the destination | The location or department does not exist, or is outside your assignment | See Master data |
| Approved but the asset still shows the old location | Looking at a cached page | Reopen the asset; check its History tab |
| The move already happened physically but is not approved | Approval is pending | Nothing to fix — the record catches up on approval |