
Asset addition
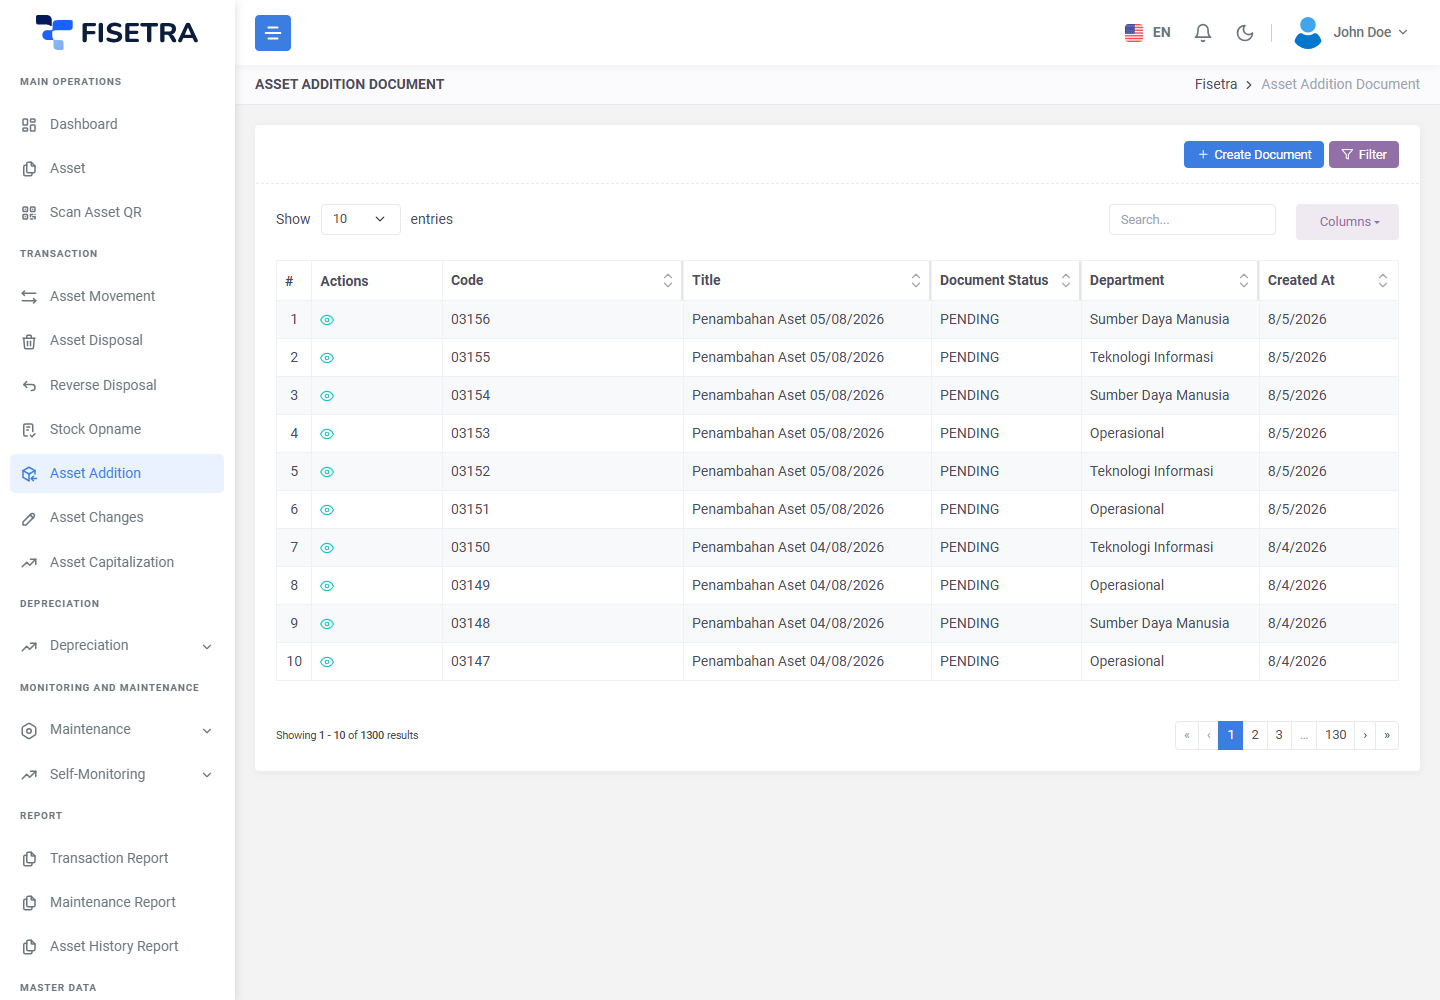
Transaction → Asset Addition is how new assets enter the register. You can enter them one at a time or import a spreadsheet, and either way the assets become real only once the document is approved.
This chapter covers what is specific to additions. The document lifecycle, submitting, fixing a rejection and voiding are in Document basics.
Before you start
Additions reference your master data, so create it first — the category, location, department and status you need must already exist, along with the person the asset will be assigned to. See Master data.
Doing this first matters more for imports than for single entry: an import row referencing a category that does not exist is rejected, and fixing fifty of those afterwards is tedious.
Create the document
- Open Transaction → Asset Addition and select the create button.
- Fill in the header — its title and the department and category context.
- Save. The document number is generated and the status is
DRAFT.
Add assets one at a time
Use this for a handful of assets, or when each one is different.
- On the Asset List tab, select the option to create a single asset.
- Fill in the asset form: name, category, location, department, responsible person and status, plus the purchase information.
- Save. The asset is added as a line on the document.
- Repeat for each asset.
Each line can be edited or removed while the document is still DRAFT.
The purchase fields
These matter more than they look, because depreciation is calculated from them.
| Field | What it is for |
|---|---|
| Purchase date | When the asset was acquired |
| Acquisition value | What it cost — the basis for depreciation |
| Currency | The currency of that value |
| Depreciation start date | When depreciation begins. Often later than the purchase date |
| Useful life | How long the asset is expected to serve |
| Residual value | What it is expected to be worth at the end |
Getting these right now is much easier than correcting them later, which needs an Asset changes document and another approval. See Depreciation.
Import assets in bulk
Use this when registering many assets at once — a new site, a migration, a bulk purchase.
- Download the import template
- Fill it in, one asset per row
- Upload it to the document
- Wait for processing and review the result
- Fix any rejected rows and upload again
- On the document, open the import option and download the template. Use the template — the columns must match.
- Fill in one asset per row. Reference values must match your master data exactly as spelled there.
- Upload the completed file.
- Fisetra processes it in the background and shows progress. Large files take a while; you can leave the page and come back.
- When it finishes, review the result. Successful rows are added to the document's asset list.
When rows are rejected
Fisetra reports errors per row rather than rejecting the whole file, so a mistake on row 40 does not throw away the other 39. Download the error report, fix those rows, and upload just the corrected ones.
The usual causes:
| Cause | Fix |
|---|---|
| A category, location, department or status does not exist | Create it in Master data, or correct the spelling |
| A required column is blank | Fill it in |
| A date is not in the expected format | Match the format shown in the template |
| A value has thousands separators or a currency symbol | Enter plain numbers |
Imports are processed in the background, so if progress does not move at all, the queue may not be running — that one is for your system administrator.
Attachments and Carbon Copy
Add supporting files — the purchase order, the invoice, the delivery note — on the Attachment tab, and anyone who should be told when the assets are registered on the Carbon Copy tab. See Document basics.
Submit and approve
Select Document Confirmation to submit. The document becomes PENDING and approvers are notified.
On approval, every asset on the document is created in the register, each with its own identifiers, and each with a history entry pointing back at this document.
Until then the assets do not exist — they cannot be moved, maintained or reported on. That is the point of the approval step.
If the document is rejected it returns to you as a DRAFT; fix it and use Confirm Fix.
Common problems
| Problem | Why | What to do |
|---|---|---|
| The whole import failed immediately | The file did not match the template | Download a fresh template and re-enter the data |
| Import progress never moves | Background processing is not running | Contact your system administrator |
| Assets do not appear in the register after approval | Looking outside your visibility, or filters are still applied | Clear filters; check Users and access |
| Duplicate assets created | The same file was uploaded twice | Void the surplus document if it is still DRAFT; otherwise dispose of the duplicates |
| Cannot pick a category or location | It does not exist yet, or is outside your assignment | Create it in Master data |
| Depreciation is not calculating | The purchase fields are incomplete, or no template is assigned | Check the asset's Purchase tab and Depreciation |